How to Make Your Own Chalkboard Wall
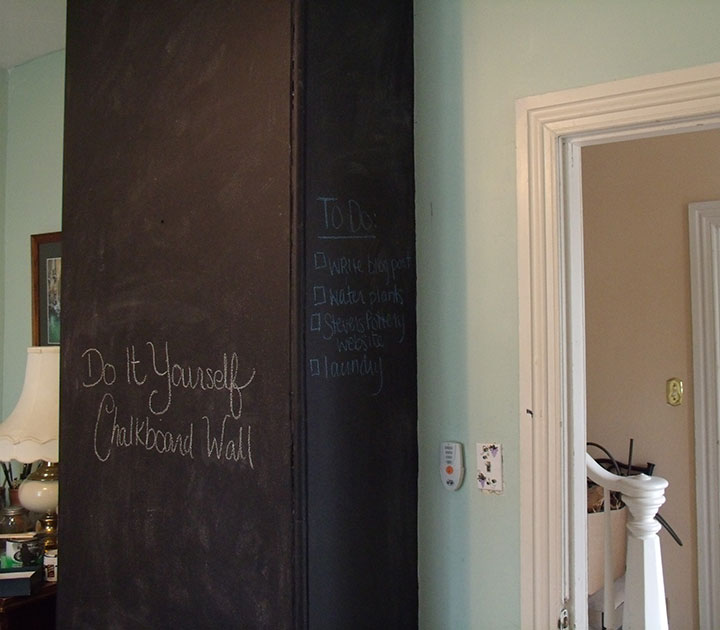
Last year, my husband and I bought our dream house. I say dream house because it needs a lot of love, but the potential is there! I’ll write more on that later. The room I chose to use as my studio has a chimney going through it, breaking up the wall and making it difficult to utilize the space.
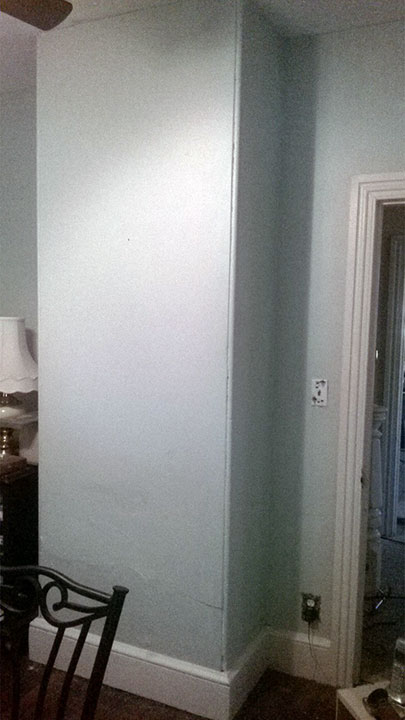
While I was moving my things into the room, I was brainstorming ideas of how I could make the chimney usable space. And then it hit me, I wanted to make it a chalkboard! I was so excited to start this project that I immediately went onto Home Depot’s website and started searching for chalkboard paints. I bought Rust-oleum’s Chalkboard paint. I knew I wanted to make my chalkboard black, but there are so many other colors you can buy!
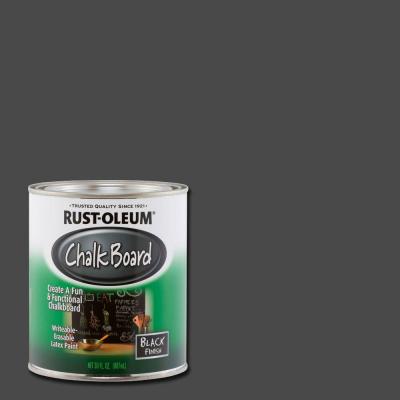 Home Depot only had 30 oz. cans, so I bought two at $9.67 per can. There are primers that you can buy for the paint as well, I decided not to after discussing the primers with a Home Depot Employee.
My first step was to clean the walls I wanted to paint. I also taped off the edges of the trim and wall with painters tape. Next I started painting! The chalkboard paint needs time to cure in between coats, so I waited 4 hours (as per the paint’s instructions) before applying the second coat. The first coat looked very splotchy and made me nervous, but it evens out with the next application. I applied 3 coats.
Once the third coat was done, I needed to wait 3 days for the paint cure. Then I primed the wall by rubbing the surface with chalk. This leaves a fine coat of chalk dust that provides makes it easier to erase.
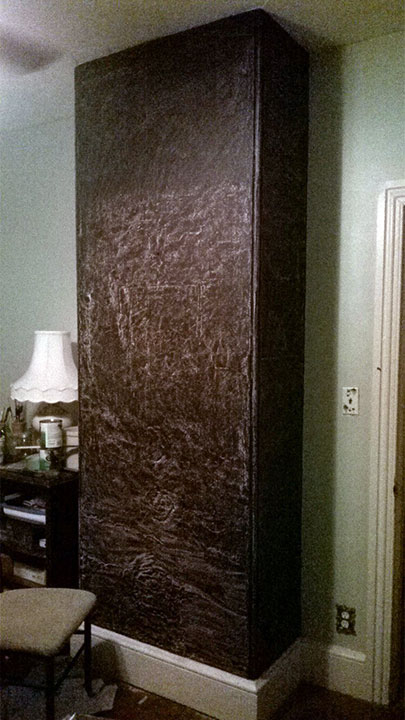
According to the paint’s directions, you need to wait 7 days after painting to wipe down the wall with a damp cloth. Then you are ready to go!
 I’m Chrysta, an artist, illustrator & designer living in a small town in Pennsylvania. I love creating things that will bring joy and happiness to others.