Behind the Scenes: Creating Adorable Pandas!
")
Recently, I was asked to make a panda illustration for a phone case, and I was so excited to start drawing pandas! I had so much fun with this project that I thought I’d show a little bit of my process.
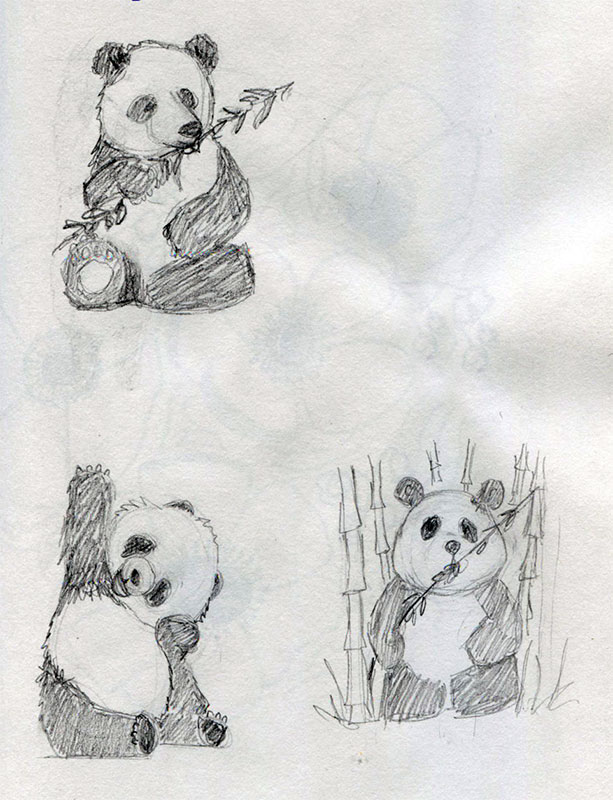
I always start by looking up pictures of the subject matter. I looked at a ton of panda pictures to get a better idea of their anatomy. Even though my illustrations are stylized, I want them to look believable and have similar characteristics. Then I start sketching out ideas. I decided to create multiple pandas, because pandas are adorable!
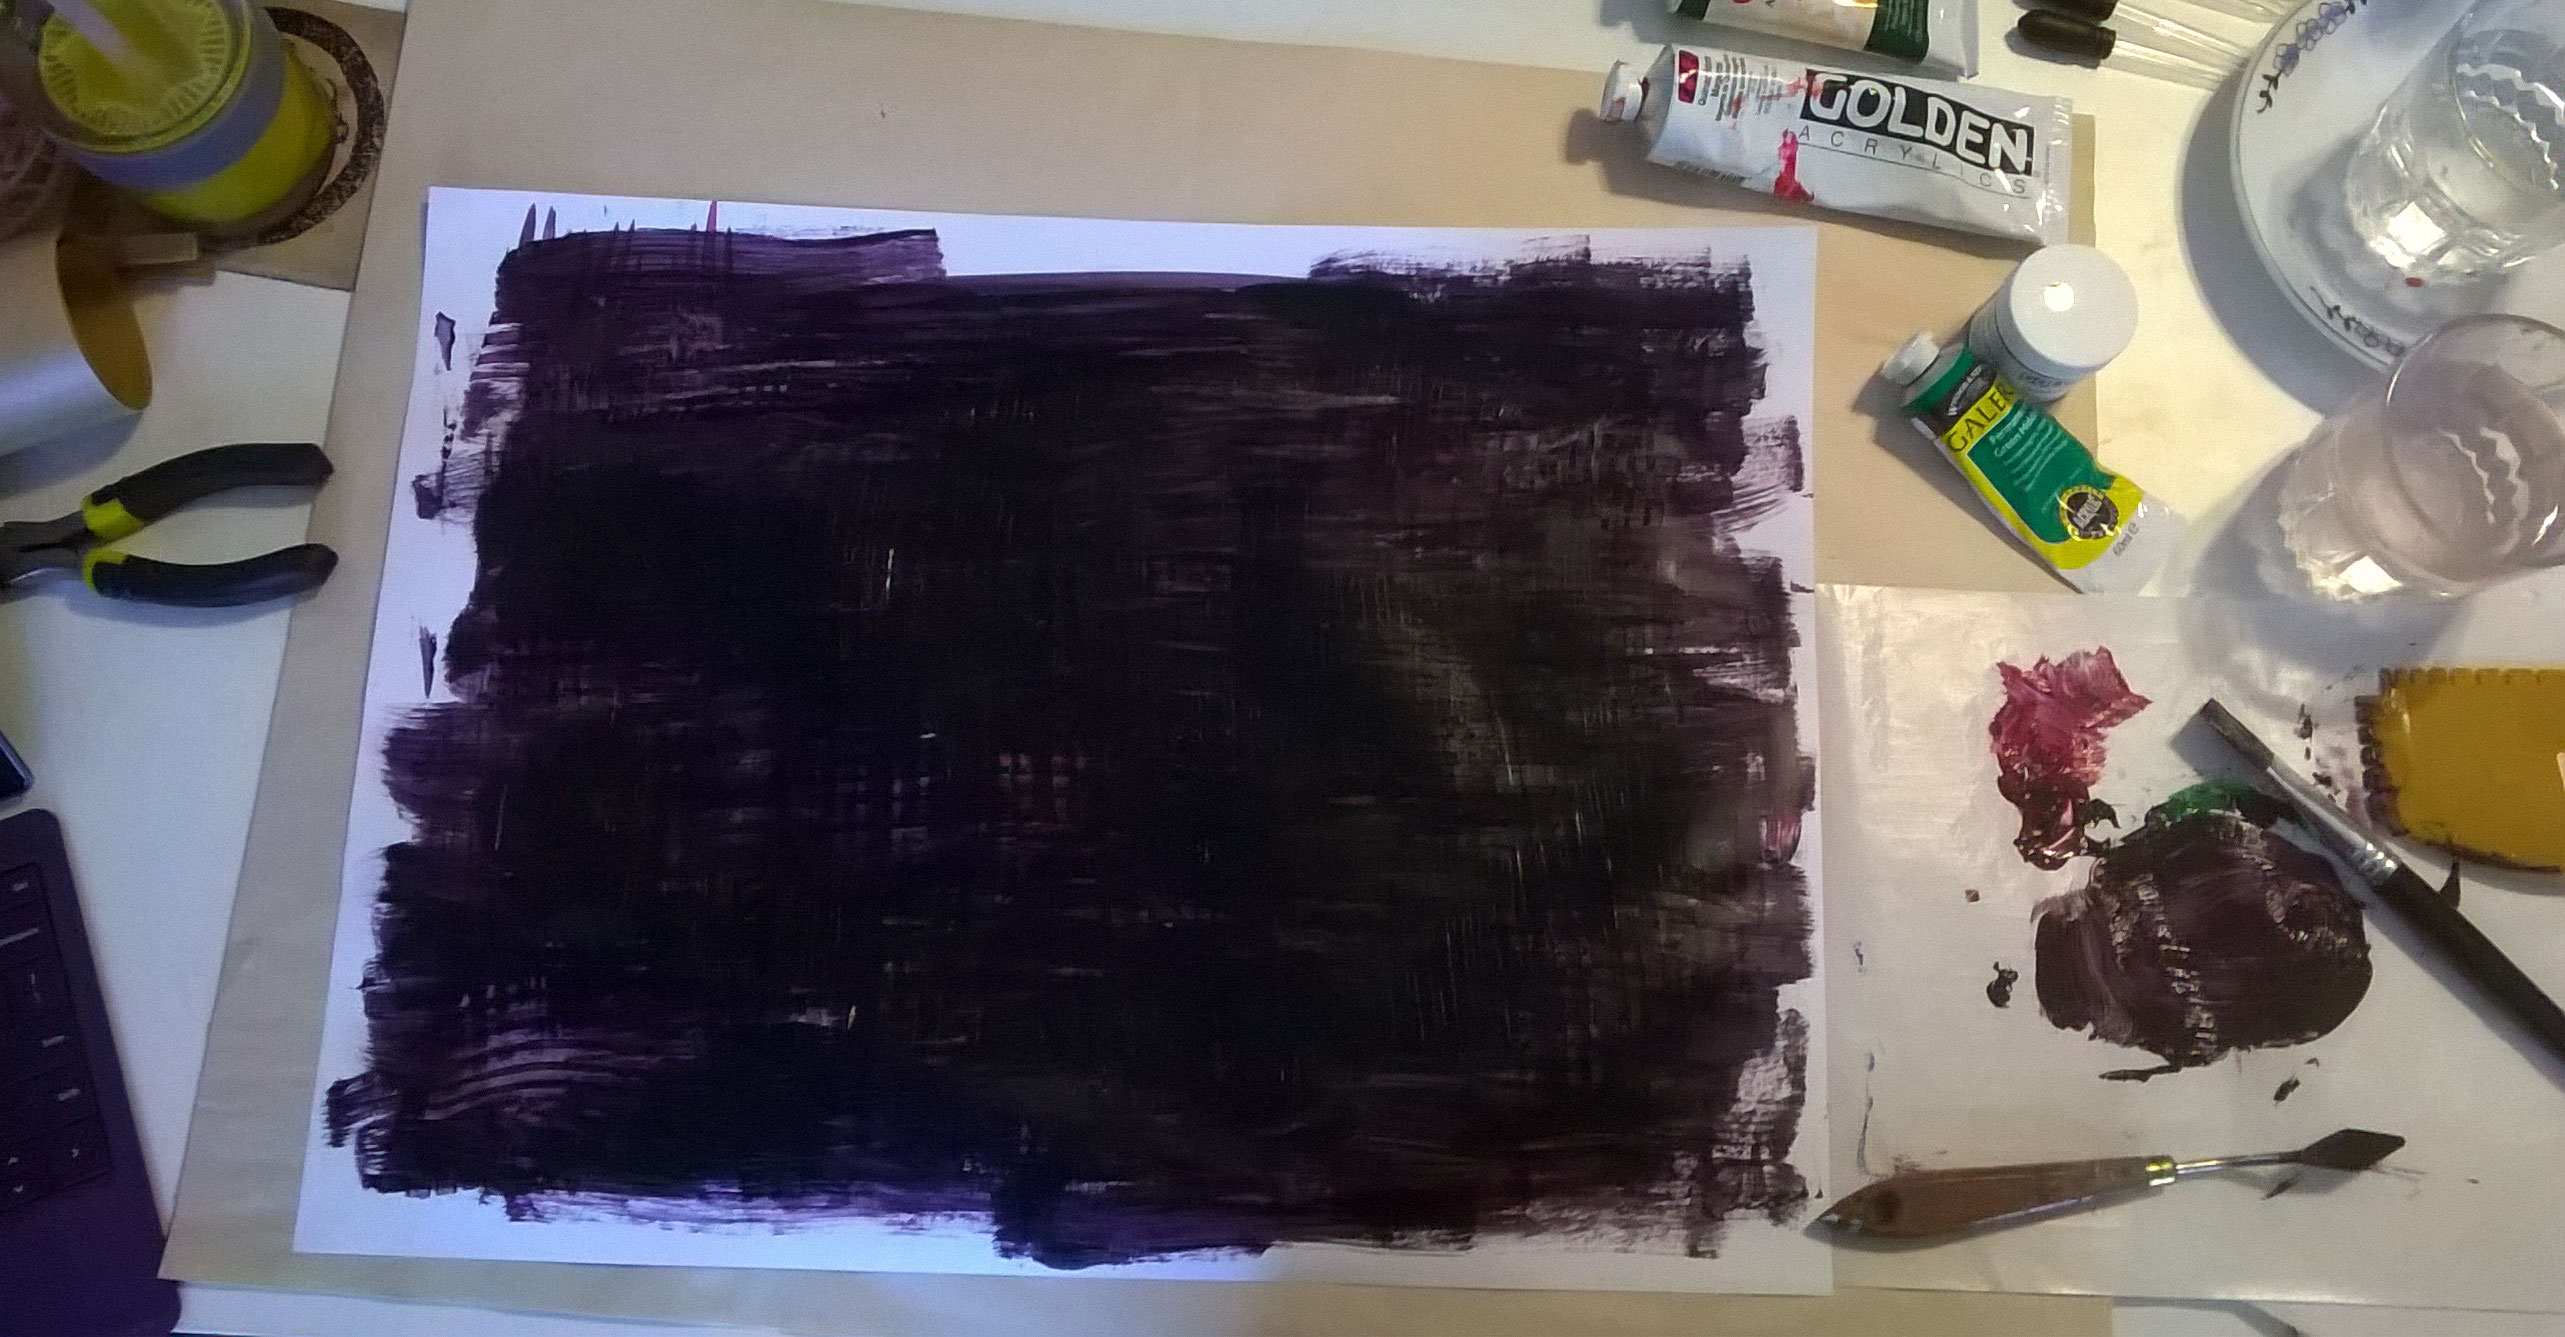
While I was sketching, I knew I wanted to use a dark purple color, that almost looks black. So after I finalized my sketches, I started painting paper to create the color and texture I was looking for.
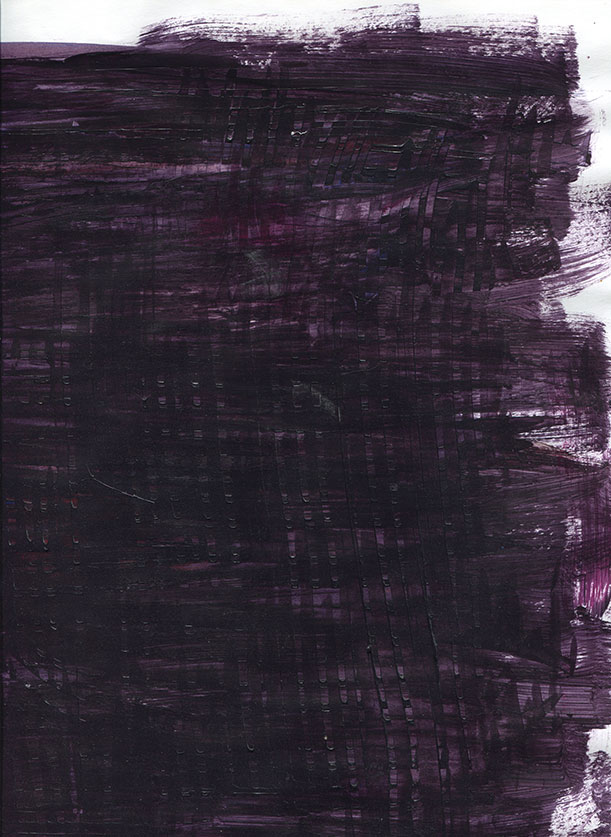
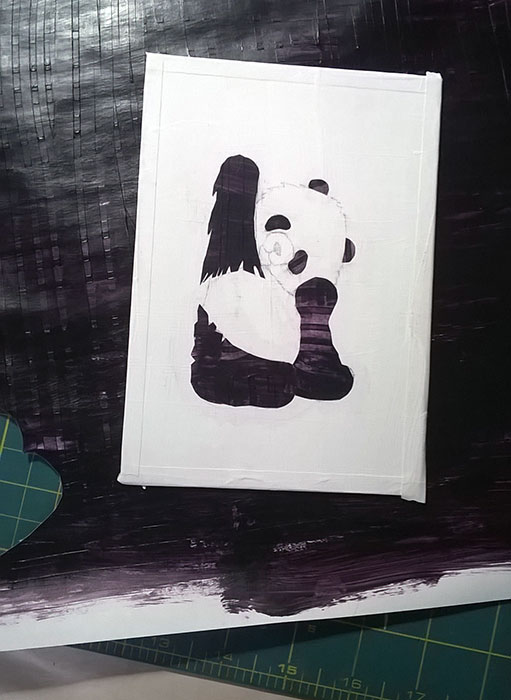
While the paper was drying, I cut down and prepped the illustration board for each piece. This included several coats of gesso and sanding the dry layers before applying another coat. I also sketched the image onto the board when the gesso was dry. Once the paper dried, I picked the areas I wanted to use and began cutting the shapes.
After the shapes for one panda were cut out, I laid them out on the board to make sure everything looked in place. Once I was pleased with the location and cut of each shape, I glued them in place.
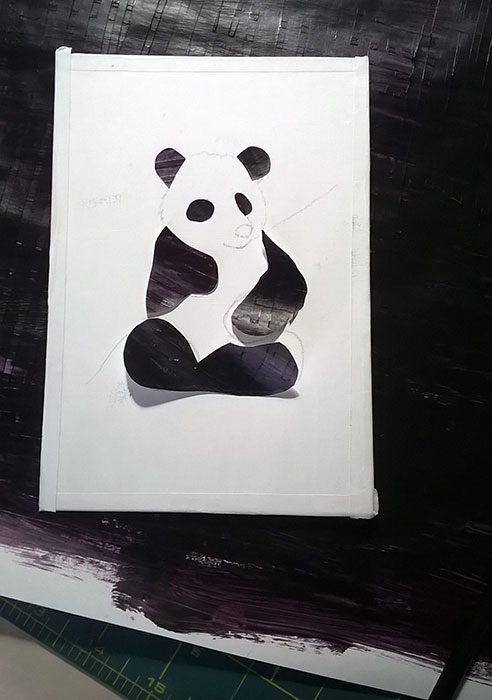
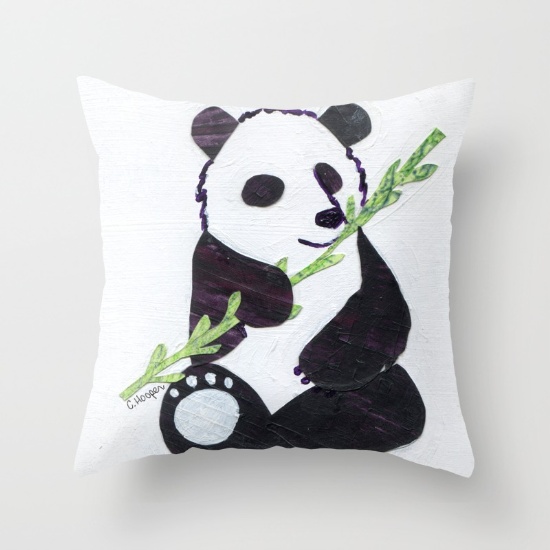
Typically, I use paper to create all of the pieces of a character and will paint over the paper to create highlights or shadows. This time I tried something new, which was to paint outlines of parts of the characters. Overall I am really pleased with the effect this gave the pandas.
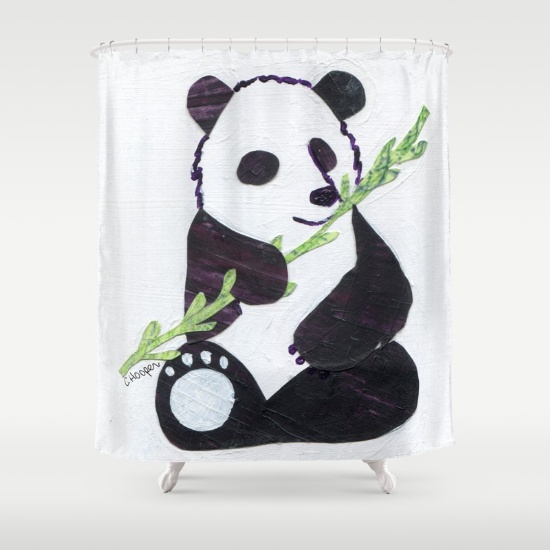
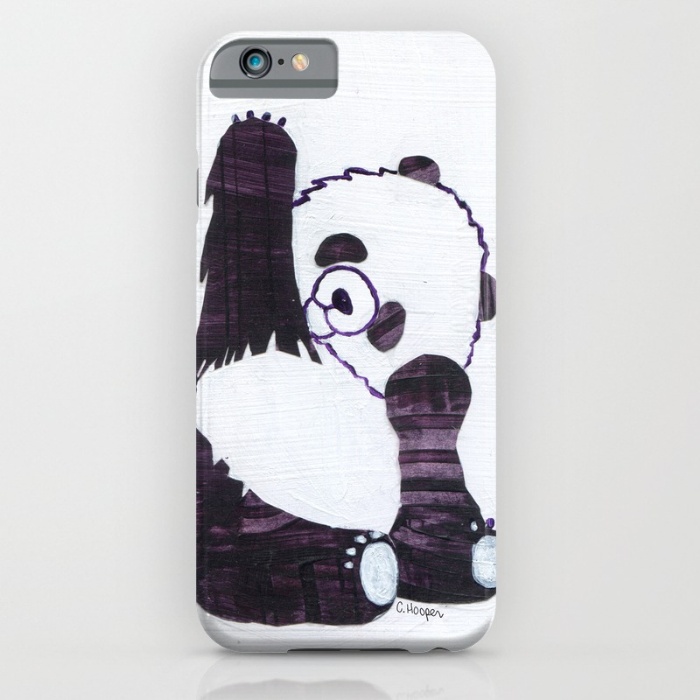
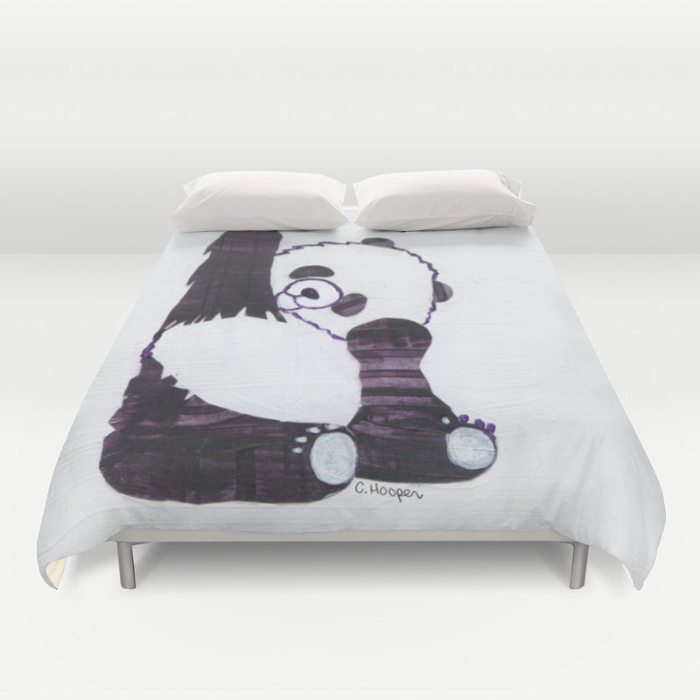
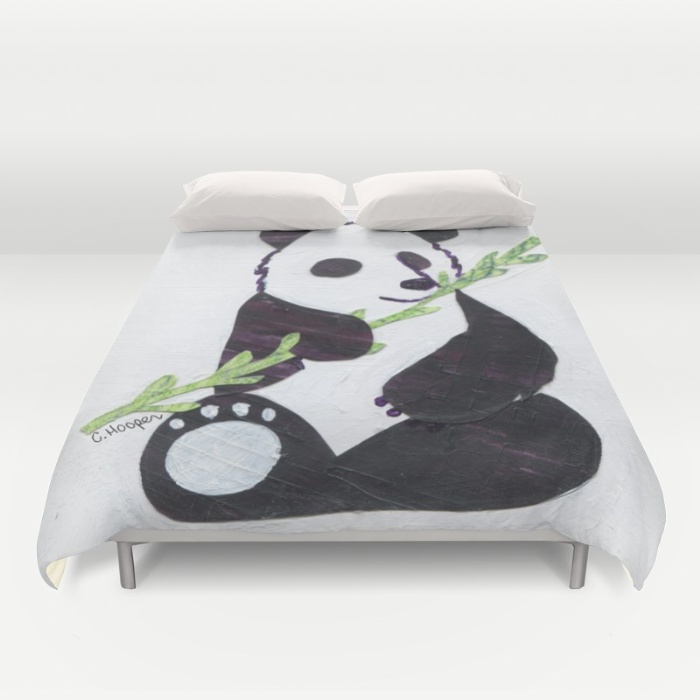
If you are interested in purchasing a product with one of these pandas on it, please visit my society6 shop! Below are some of the many products with the pandas on them!


 I’m Chrysta, an artist, illustrator & designer living in a small town in Pennsylvania. I love creating things that will bring joy and happiness to others.